
Last updated November 22, 2026
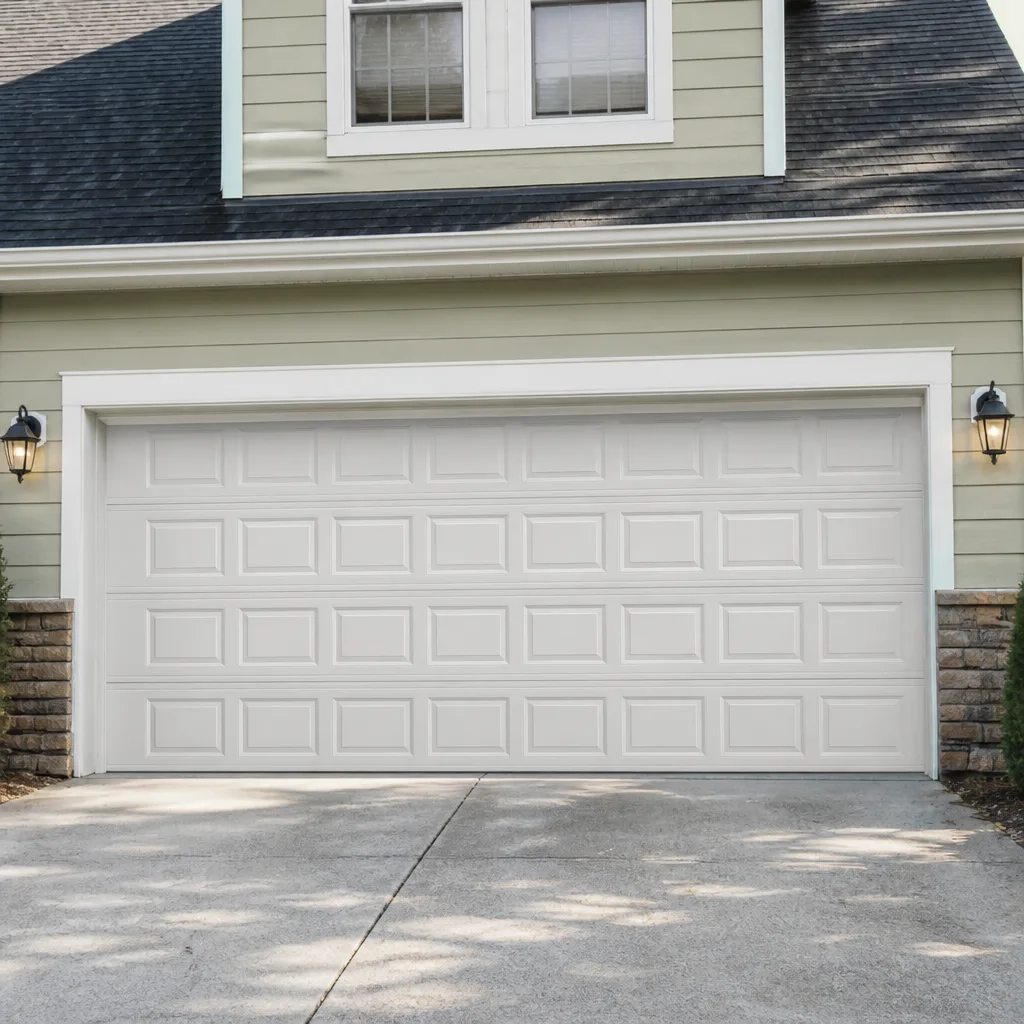 Raised-panel steel
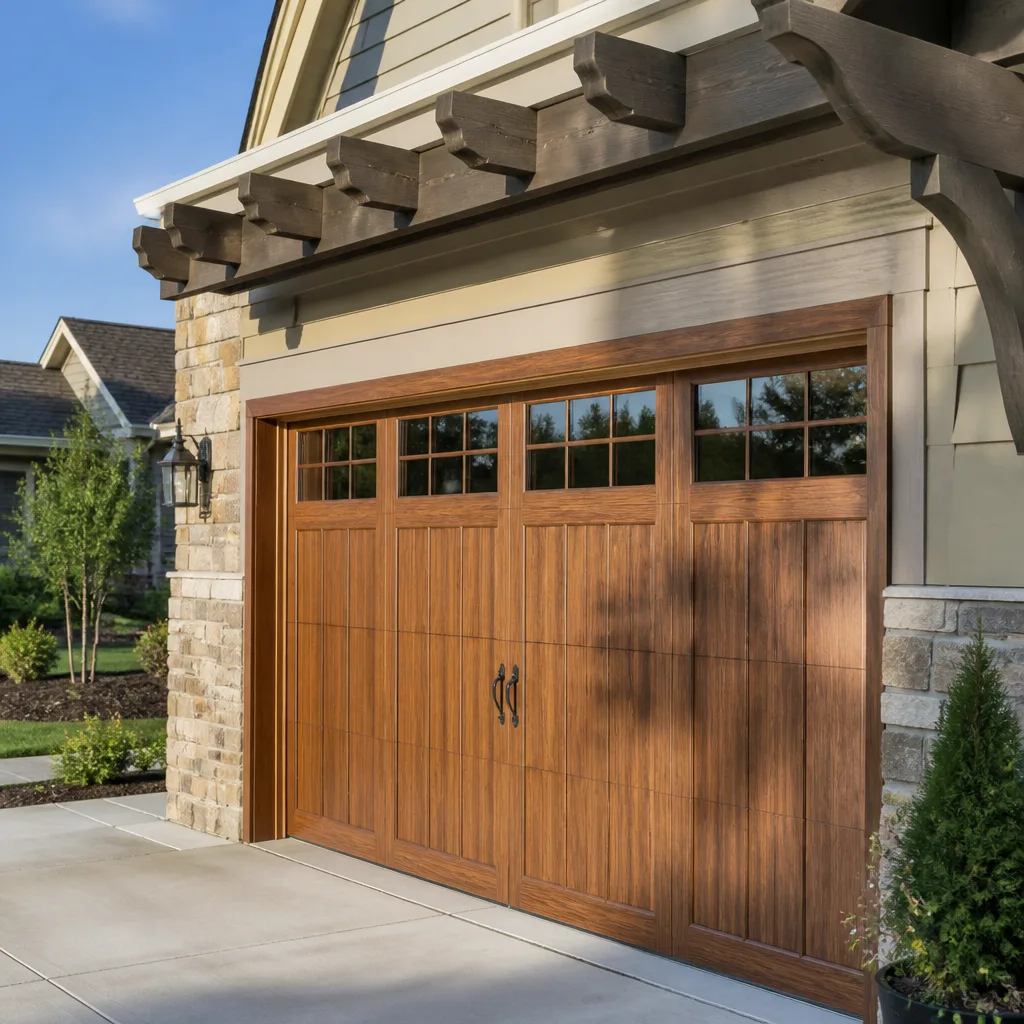
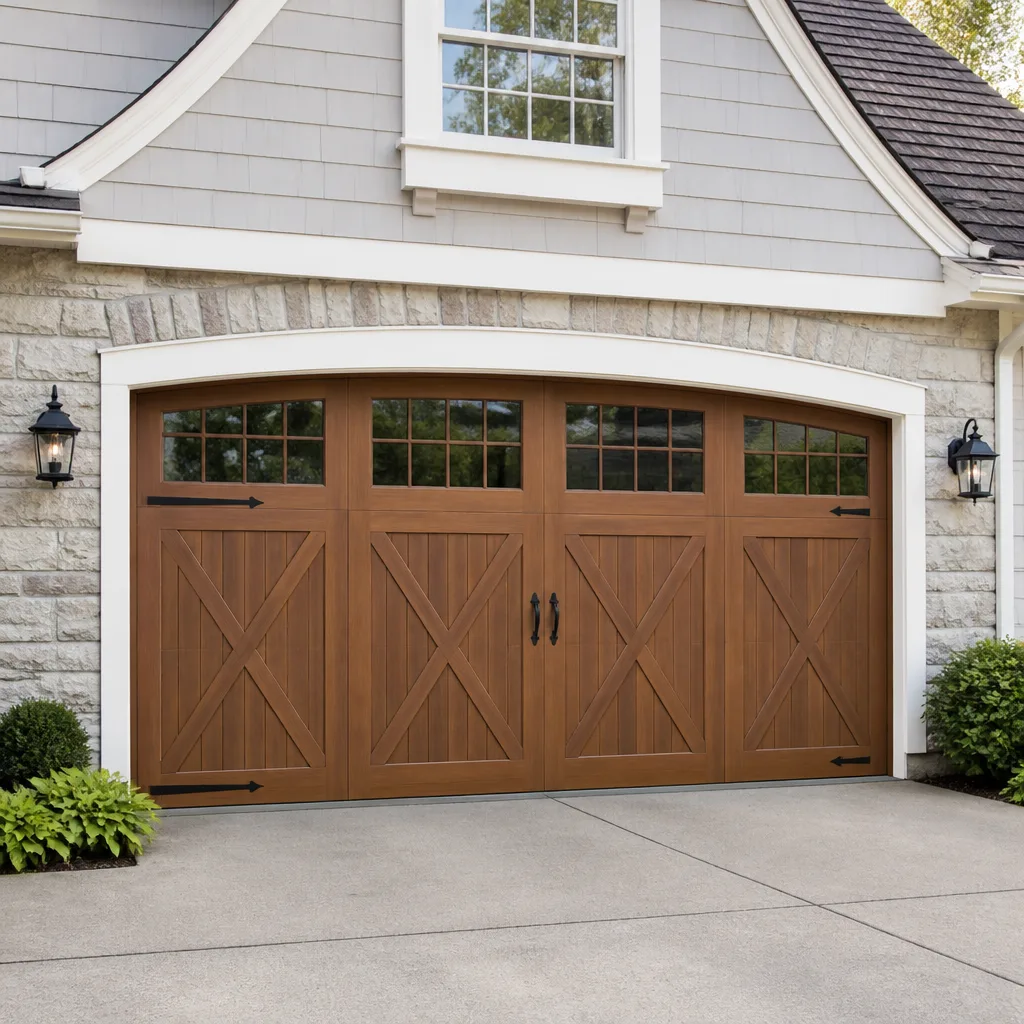 Carriage house
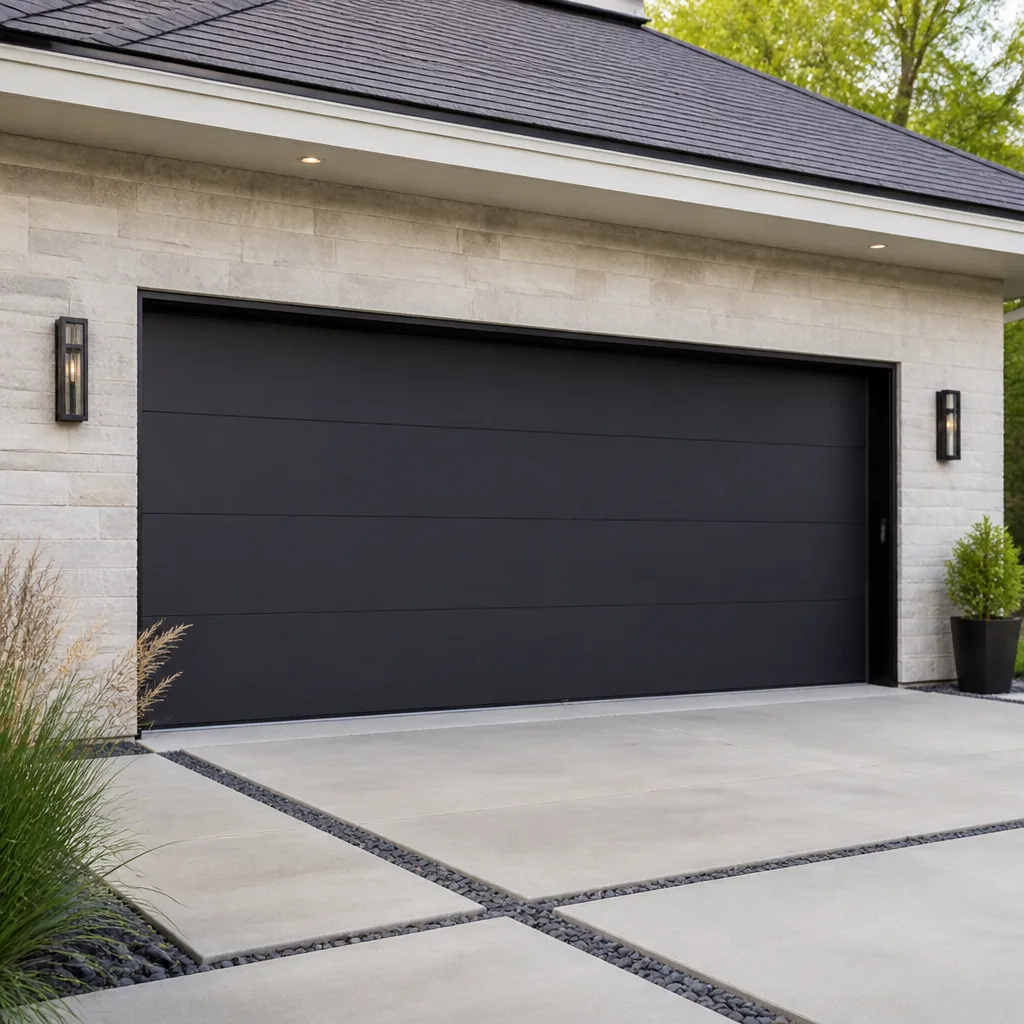 Modern flush
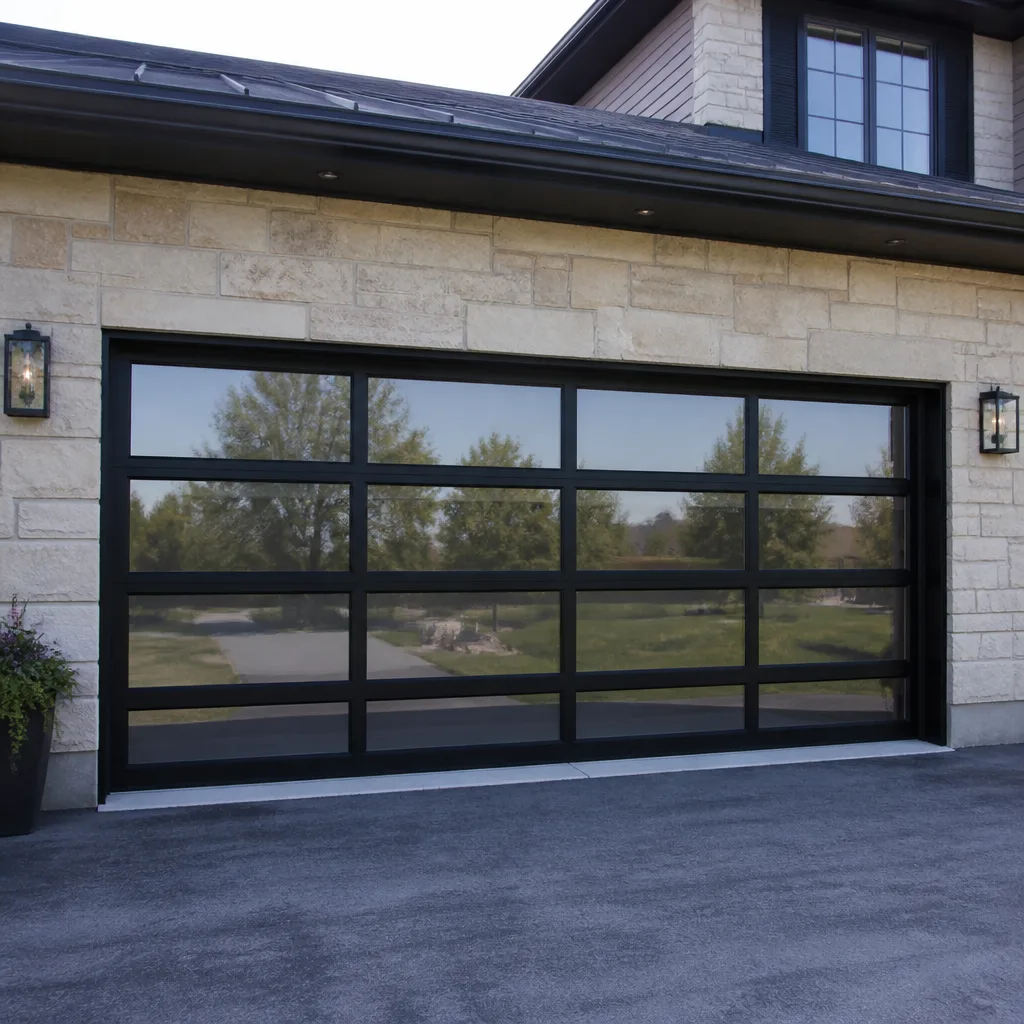 Full-view glass
 LiftMaster openers
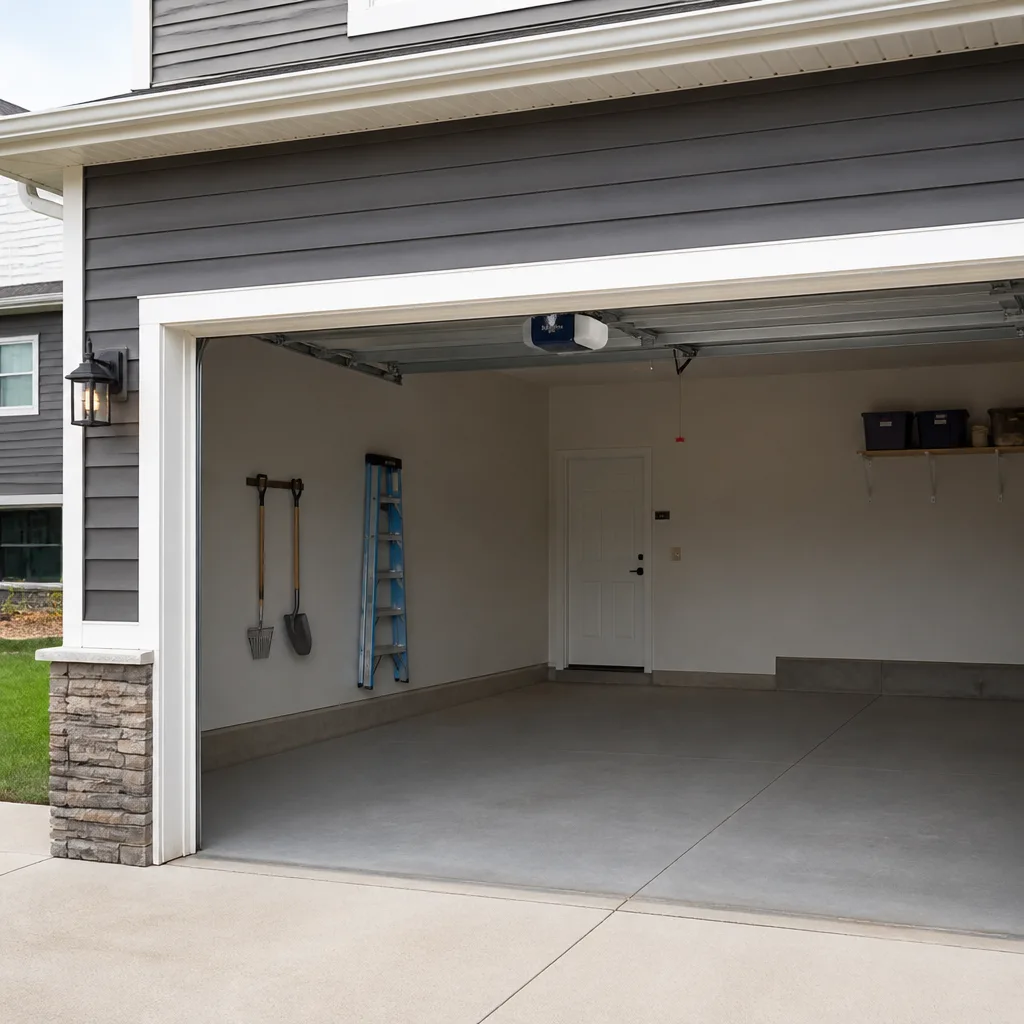 Chamberlain openers
Full 25-point door and opener safety check with every visit - springs, cables, rollers, tracks, and your LiftMaster or Chamberlain opener included
You get a price before we start. It does not change when the pro arrives.
Get your free estimateGarage Door Repair Maintenance Checklist for Gainesville Homeowners
The call we get most often in Gainesville isn’t about a spring that snapped. It’s about a roller bracket that had been quietly rusting for months while the door kept going up and down. That’s the thing about garage doors in this climate: they fail slowly before they fail suddenly, and the early warnings are almost always visible if you know where to look. Orange staining around the roller stems. A chalky white film on the tracks. A bottom seal that’s gone soft and dark. This checklist is sequenced by what actually fails first on Florida doors, so a Gainesville homeowner can catch the small stuff before it becomes a Sunday-night emergency.
Quick Answer
A garage door maintenance checklist for Gainesville should prioritize humidity-related wear and storm-season readiness ahead of the generic items you’ll find on national templates. That means checking monthly for rust staging on springs and roller brackets, mineral deposits on tracks, and rot along the bottom seal, then doing a deeper annual inspection of the torsion spring system, weatherstripping and manual release. Most of these checks take ten minutes and don’t require tools.
Styles & brands we work with
- Raised-panel steel
- Carriage house
- Modern flush
- Full-view glass
- LiftMaster openers
- Chamberlain openers
Table of Contents
- Your Monthly Ten-Minute Walk-Around
- Corrosion: The Failure Mode Most Checklists Miss
- Annual Torsion Spring Inspection: What You Can Safely Check
- Why Silicone Beats WD-40 in Gainesville Humidity
- Weatherstripping and Bottom Seals: Two Jobs, One Strip
- Pre-Hurricane Season Checklist for Gainesville Doors
- Opener and Safety-Reverse Testing
- A Seasonal Maintenance Calendar for North Central Florida
Your Monthly Ten-Minute Walk-Around
Ten minutes a month is enough to catch most of what goes wrong with a garage door in Gainesville. You don’t need to touch the springs, open the opener housing or climb anything. You’re looking and listening, and the door is doing most of the work.
Start with the door closed. Walk the full width and look at the bottom seal where it meets the floor. Then look at each hinge and roller bracket along both sides. Run your eyes up the tracks, then look at the spring assembly at the top without reaching for it. Open the door with the wall button and watch it travel. Then close it and listen.
- Look for orange or brown staining at the base of every roller stem and hinge. This is rust bleeding out of the metal, and it’s the most reliable early signal that a bracket is deteriorating.
- Check the bottom seal for softness, cracking or dark discoloration. In Gainesville’s humidity, a rubber seal can go from flexible to crumbly in a single summer.
- Wipe a track with a dry cloth and look at what comes off. Gritty white residue points to mineral buildup from humid air and condensation.
- Watch the door travel. It should move smoothly and stay level. A door that shudders, jerks or drifts to one side has a balance problem.
- Listen for grinding, squealing or popping. Any new noise is worth noting and worth watching for a week.
- Test the safety reverse by placing a roll of paper towels under the door and closing it. The door should reverse on contact.
Write down anything that looks off, even if you’re not sure it’s a problem. A photo on your phone from the same angle each month makes changes obvious. If a roller bracket is shedding rust flakes or a hinge has visible movement, that’s the point to stop guessing and have it looked at. We handle garage door repair for exactly this kind of slow-failure problem, and catching it early is always the cheaper path.
Corrosion: The Failure Mode Most Checklists Miss
National maintenance checklists are written for places with dry air and cold winters. Gainesville isn’t that. Our humidity sits high for most of the year, and a garage is often the least ventilated room in the house. Moisture condenses on cold metal overnight, sits on unpainted steel through the morning, and starts the rust process from the inside of a roller stem or hinge pin.
That’s why a corroded roller bracket, not a broken spring, is the failure we see most often behind emergency calls. The bracket doesn’t crack dramatically. It thins, seizes, and eventually lets the roller bind in the track. By then the door may be off its track entirely.
Here’s where corrosion tends to show up first on a Gainesville door:
- Roller stems and brackets – the small metal tabs that hold each roller. Look for orange bloom at the base where the stem enters the bracket.
- Hinge pins – especially the middle hinges on double-car doors, which carry more load.
- Track edges – where the vertical track meets the curved section, a spot that collects condensation.
- Spring coils – rust between coils is normal in small amounts. Flaking or pitting is not.
- Bottom brackets and the bottom seal retainer – closest to the floor and closest to ground moisture.
A steel door with a factory finish holds up better than a raw-galvanized one, but no finish lasts forever in this climate. A yearly wipe-down of the tracks and a light coat of silicone on the moving metal parts slows the process. Doors with wood bottom sections, which some older Gainesville homes still have, need a look at the seal edge each season for rot or soft spots.
Annual Torsion Spring Inspection: What You Can Safely Check
Springs are the one part of a garage door we tell homeowners never to touch. A torsion spring stores an enormous amount of energy, and the winding process requires specific tools and training. But you can and should look at them once a year, from a safe distance, with the door closed.
What a homeowner can check safely:
- Visible gaps in the coil. A stretched or separated spring is a sign of wear. Note the location.
- Rust and flaking. Surface discoloration is common. Flaking, pitting or heavy orange scale is a reason to call.
- Sagging. A torsion spring should sit level on its shaft. If it droops on one side, that’s a balance issue.
- Lift effort. Disconnect the opener and lift the door by hand. A properly balanced door should lift with one hand and stay in place at mid-height.
- Noise at the start of a cycle. A sharp crack or bang at the start of travel usually means a spring is under excess load.
What requires a technician: any adjustment to spring tension, any replacement, any unwinding or winding, any inspection of the cables that run alongside the springs, and any repair to the center bearing plate. Cables are under the same tension as the springs and cause the same severity of injury. The spring system and its cable assembly is a matched set – if one fails, the other is inspected or replaced as part of the job.
If a spring has failed and the door won’t lift, that’s a call-now situation rather than a wait-and-see. Our garage door spring repair is handled as its own discipline, not as an add-on to a general repair visit, because the tooling and the training are different from everything else on the door.
Why Silicone Beats WD-40 in Gainesville Humidity
Here’s the short version: WD-40 is a solvent, not a lubricant. It displaces water and loosens stuck parts, but it evaporates and leaves very little film behind. In Gainesville’s humidity, a film is exactly what you need, because the metal is being hit with moisture from the air all day.
Silicone spray leaves a thin, dry film that resists moisture, doesn’t attract dust, and doesn’t wash out in a rainstorm that blows into an open garage. It’s also safe on rubber and plastic, which matters because half the moving parts on a door involve rubber rollers, nylon hinges or a vinyl seal. White lithium grease works too, but it collects grit in an environment where grit comes in on the car tires every day.
Where silicone goes:
- Roller stems and bearings – one short spray at each stem, then work the door open and closed a couple of times.
- Hinge pins – a drop at each hinge, top to bottom.
- Torsion spring coils – a light spray across the length of the coil. It won’t penetrate between tightly wound coils, but silicone on the surface slows rust.
- Track surfaces – a very light pass on the inside of the vertical tracks. Never grease the horizontal tracks on a powered door; the rollers need to glide, not stick.
- Bottom seal – silicone spray keeps the rubber from drying out and cracking.
Skip the tracks if you’re not sure. Lubricating a track too heavily is worse than leaving it dry, because the rollers will slide rather than roll and the door will run rough. If you’re going to do one thing, do the roller stems and hinge pins. That’s where most of the friction and most of the corrosion live.
Weatherstripping and Bottom Seals: Two Jobs, One Strip
Weatherstripping around a garage door does twice the work down here. It keeps the rain out during a summer downpour and it holds the air conditioning in during the long hot stretch from May through September. When it starts to fail, you usually see the second problem before you see the first, because the garage gets noticeably warmer and the room above the garage gets stuffy.
Testing it is simple. Close the door and stand inside the garage in daylight. Look along the bottom seal and both sides for any light coming through. Then run a dollar bill along the seal – if it slides out without resistance, the seal isn’t contacting the door face properly. Then look for these specific signs:
- Cracks or splits in the rubber, especially at the corners where it flexes most.
- Compression set – the seal is squashed flat and no longer springs back.
- Soft or gummy texture, common in Florida because the UV and heat break down the rubber.
- Dark, moldy staining on the underside of the seal, especially if the door faces a shaded side of the house.
- Rot at the base of a wood door or a softening of the bottom section.
Bottom seals are a low-cost part and one of the few maintenance items we’d call genuinely DIY-friendly. Side and top weatherstripping, along with the stop molding, is easier to replace than it looks, but the fit matters – a seal that’s too tight makes the door drag and load the opener. If the door has a wind-load rating, the perimeter seal is part of that assembly and needs to go back on the way it came off.
Pre-Hurricane Season Checklist for Gainesville Doors
Storm season in North Central Florida runs from the start of summer through late fall, and a garage door is usually the largest opening on the house. A door that isn’t rated or braced for wind pressure can fail in a way that lets pressure into the structure. You don’t need to become an engineer to check the basics – you need to know what to look at and when to bring in a specialist.
- Test the manual release. Pull the red handle with the door closed. It should release the door from the opener cleanly. Then re-engage it by opening and closing the door with the opener. A release that sticks is a problem, and you want to know about it before a storm.
- Check the wind-load bracing. Most modern doors have horizontal or vertical struts and specific gauge hinges and brackets. Look for bent, loose or missing struts and any hardware that’s pulled away from the door panel. Never modify this yourself.
- Inspect the top and side stops. Impact-rated doors use heavier hinges, brackets and track hardware. Loose anchor bolts in the jamb are a sign to call.
- Look for panel damage. A dented panel on an impact-rated door can compromise its rating. Even a cosmetic dent should be reported to the manufacturer’s spec.
- Lubricate with silicone before the rainy stretch, not during it. A dry film is what you want going into months of afternoon storms.
- Clear the tracks and floor area. Debris in the track during a storm can jam the door in the open position, which is the opposite of what you want.
If you’re not sure whether the door was rated or braced, or the door is old enough that the labeling has faded, the answer is to have it inspected. We work on Amarr, Wayne Dalton, Raynor and other impact-rated systems, and we can tell you what’s on your door and what condition it’s in. A pre-season inspection is scheduled work, not an emergency call, so it’s a good opportunity to handle it early.
For a full picture of what a maintenance visit covers, our Gainesville Garage Door Repair Co service pages list the components we check on every call.
Opener and Safety-Reverse Testing
The safety reverse is the single most important feature on a residential opener, and it’s the one most homeowners have never tested. It’s a legal requirement on openers sold in the US since the early 1990s, and it costs nothing to check once a month.
How to test it: place a roll of paper towels or a 2×4 flat on the floor under the middle of the door. Press the wall button to close the door. The door should reverse within about two seconds of contacting the object and return to the open position. If it doesn’t, stop using the opener until it’s checked. A second sensor test: wave your leg through the photo-eye beam while the door is closing. The door should reverse immediately.
Other opener checks worth doing once a quarter:
- Force and travel limits. If you have to hold the wall button to make the door close completely, the travel or force limits are set wrong. Don’t simply turn up the force – that masks the real problem.
- Photo-eye alignment. The two small LEDs on the sensors at the bottom of the tracks should both be lit steadily. A flickering LED points to a misalignment or a sun hit.
- Battery backup. Openers with battery backup, common in newer LiftMaster and Chamberlain models, need the battery replaced every few years. A dead backup battery does nothing when you need it most.
- Smart-home connectivity. If the opener is app-connected, sign into the app and check the door status reads correctly. Wi-Fi chips fail over time and the app goes silent without warning.
- Chain or belt tension. A visibly slack chain or a belt that sags is a sign of wear. Belt drives are quieter, but they stretch.
If the opener is liftmaster, chamberlain, genie, craftsman or a legacy unit, our garage door opener repair covers everything from a sensor misalignment to a failed logic board. We service both the Wi-Fi-integrated brands and the older systems, including the ones where the parts catalog is getting thin.
A Seasonal Maintenance Calendar for North Central Florida
Gainesville doesn’t have a four-season climate in the way most maintenance calendars assume. We have a humid stretch, a storm season, and a mild winter. Adjust your routine to that pattern rather than to a national template, and you’ll catch problems when they’re easy to fix.
Late winter (February – March): the best time for the annual deep inspection. Humidity is at its lowest, the door has been through a mild winter with less rain, and any corrosion that formed over the previous summer is visible before things get busy. Book a spring and cable inspection here. Lubricate with silicone and replace any worn bottom seal.
Spring, before storm season (April – May): manual release test, wind-load bracing check, hardware anchor inspection. Clean the tracks. Test the safety reverse. Clear debris from around the door. If the door has an impact rating, confirm the panel condition.
Summer (June – September): the monthly visual check becomes more important because humidity is at its yearly high and afternoon storms are frequent. Look for rust staging after big rain events. Watch for swelling in wood bottom sections. Check the seal for water intrusion after storms.
Fall (October – November): a light maintenance pass, especially on the opener. Battery backup check, sensor alignment, and a re-lubrication before the cooler months. If you’ve been putting off a noise or a slight shudder, this is the window to address it.
If your door is a brand like Craftsmann or Genie from the 1990s or early 2000s and still running on original equipment, the annual inspection is where you find out whether repair or replacement makes sense. The answer is different for each door, and we’d rather show you the options than guess.
Common Mistakes to Avoid
- Spraying WD-40 on the tracks and calling it lubricated. It evaporates in days and leaves almost nothing behind. In Gainesville’s humidity, silicone is the right product for the moving metal parts.
- Turning up the opener force to fix a door that won’t close. This masks a balance problem that will eventually damage the opener, the door, or both. Fix the balance, not the force setting.
- Ignoring orange staining because the door still opens. Corrosion at a roller bracket is a slow failure that turns into an off-track door at the worst possible moment. It’s the number one cause of the emergency calls we take.
- Trying to lubricate or adjust the torsion spring. Springs are under extreme tension and can cause serious injury. Look, don’t touch. Any adjustment or replacement requires a trained technician with the correct winding bars.
- Skipping the manual release test all year. If a storm knocks out power and the release is stuck, the door won’t move. Test it during the pre-season check, then again in fall.
- Replacing weatherstripping with the wrong dimension. A seal that’s too thick makes the door drag, overloads the opener and wears out the bottom section. Measure the gap and match the profile.
- Waiting for a small noise to become a big one. A single new squeal or pop is worth a look. Three noises at once is usually an emergency. Catch the first one.
See the difference
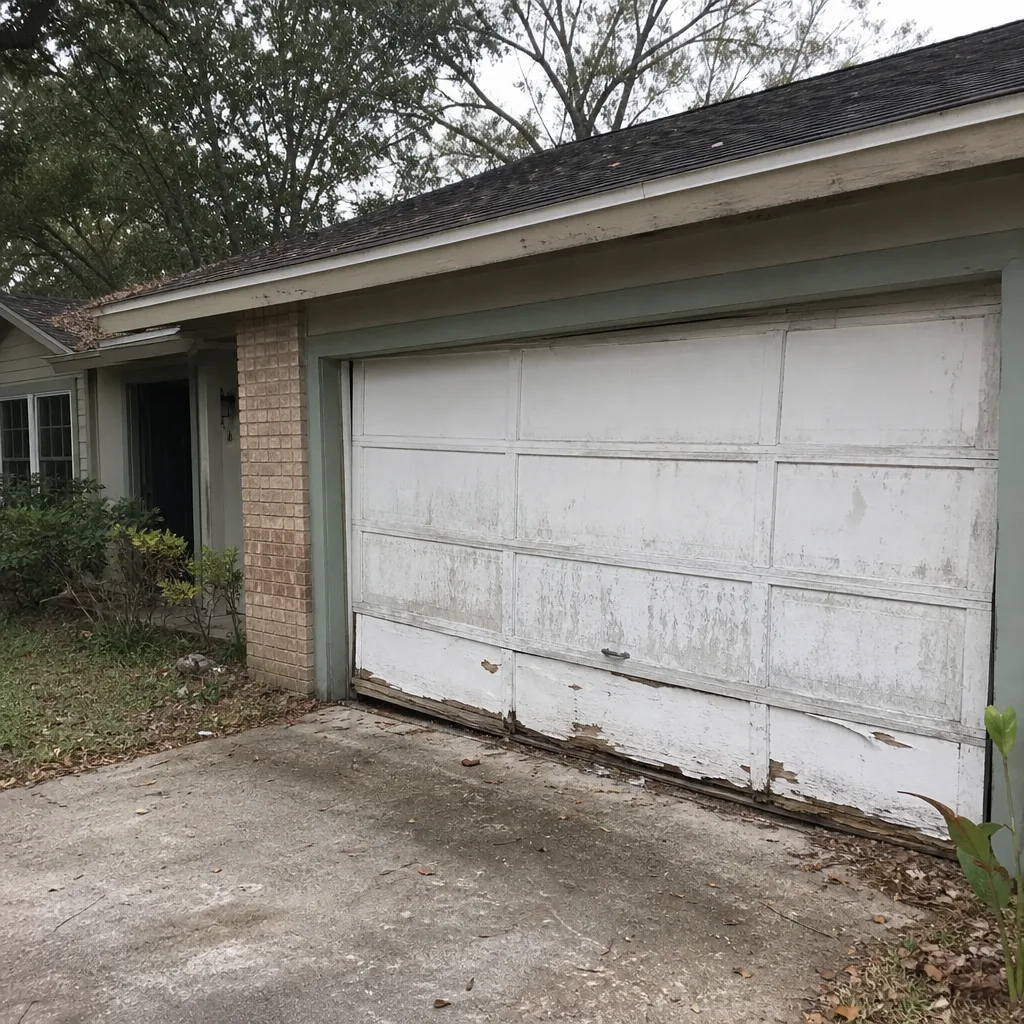 Before
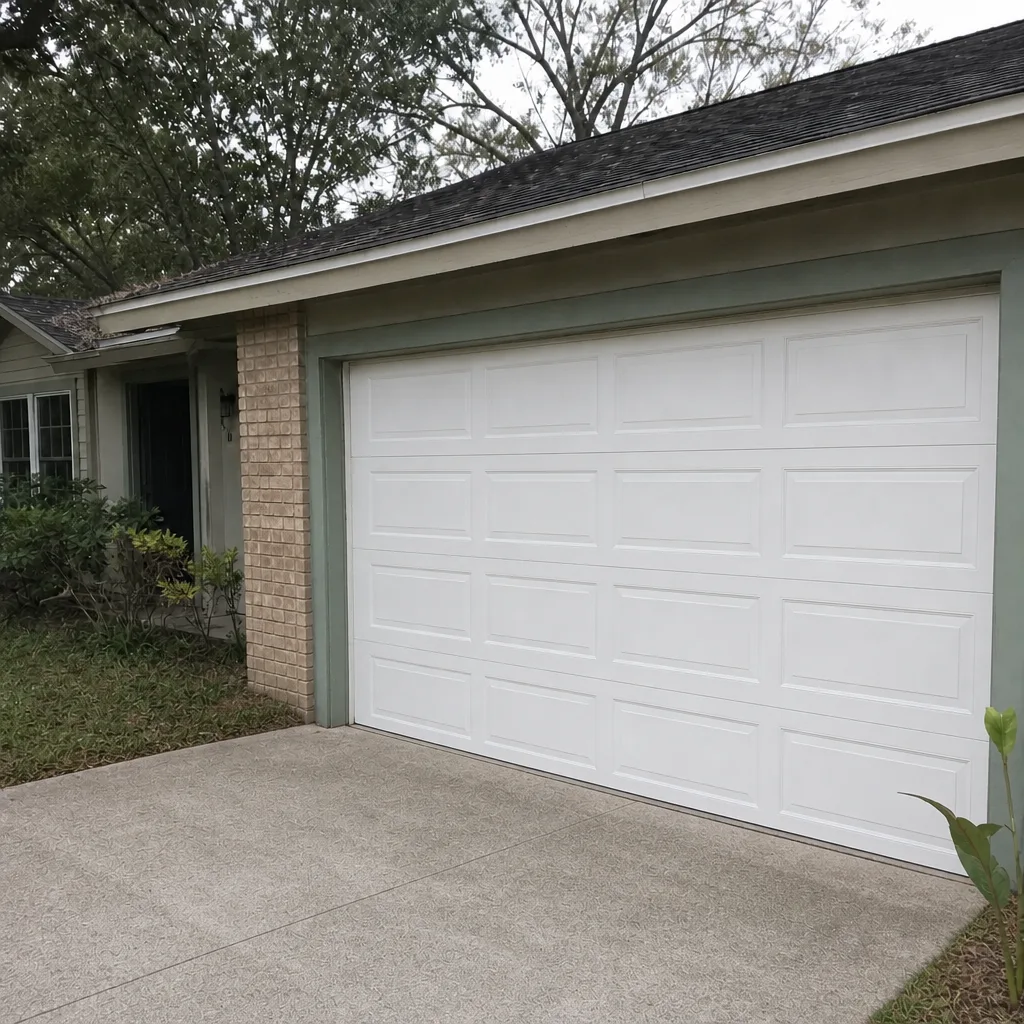 After
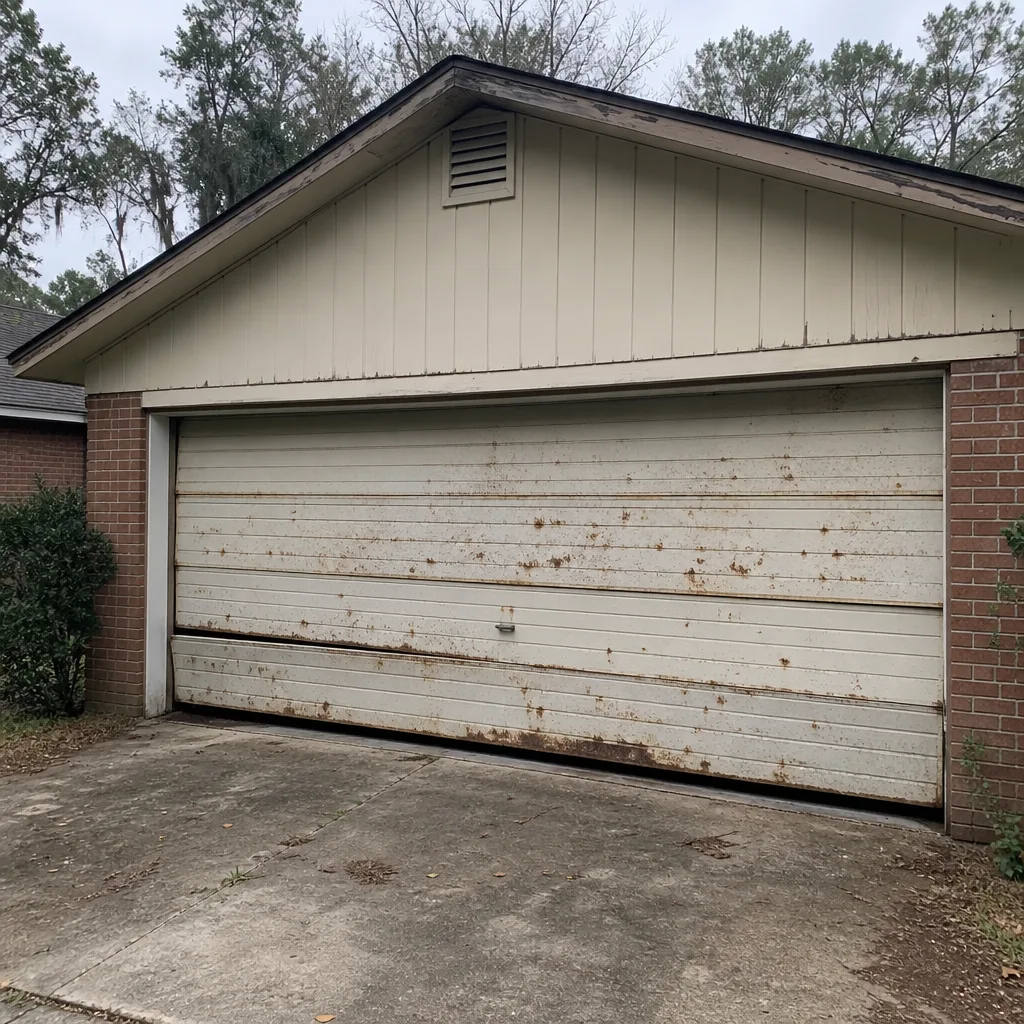 Before
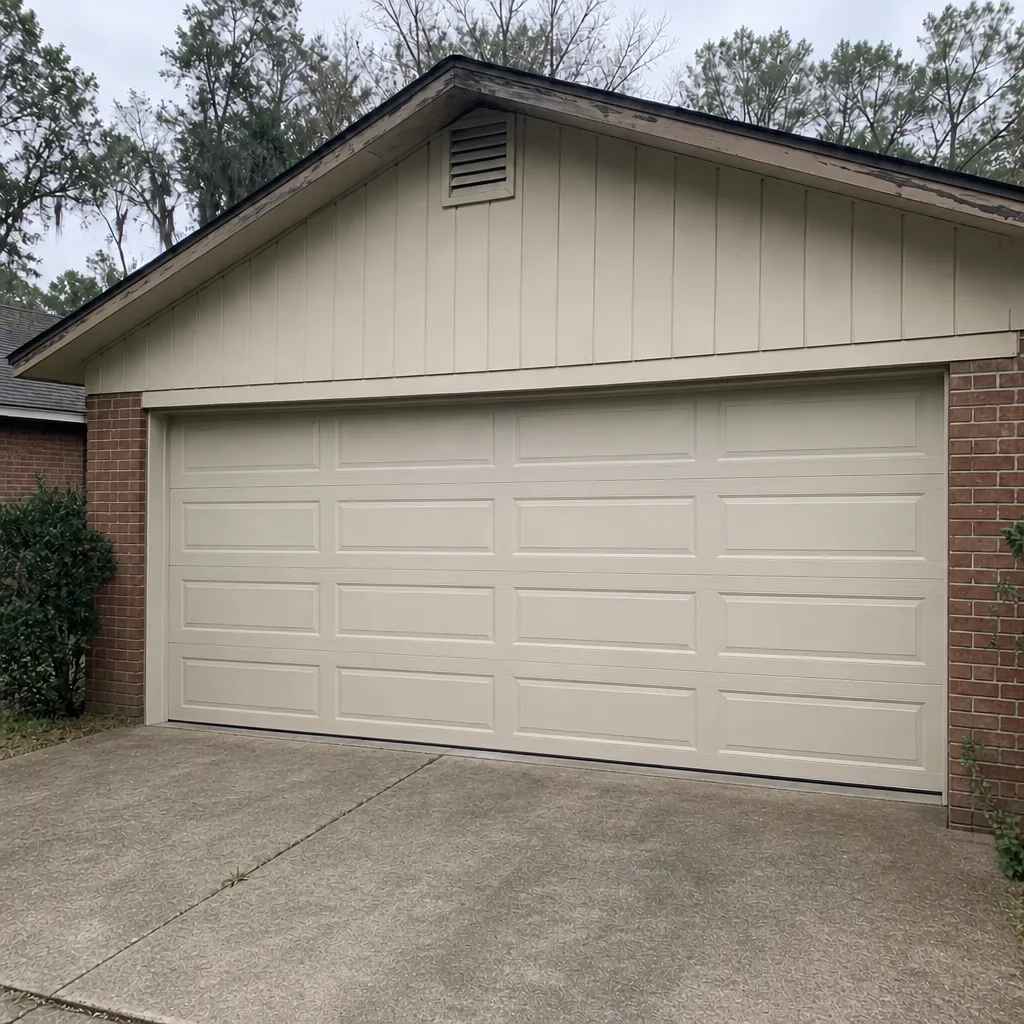 After
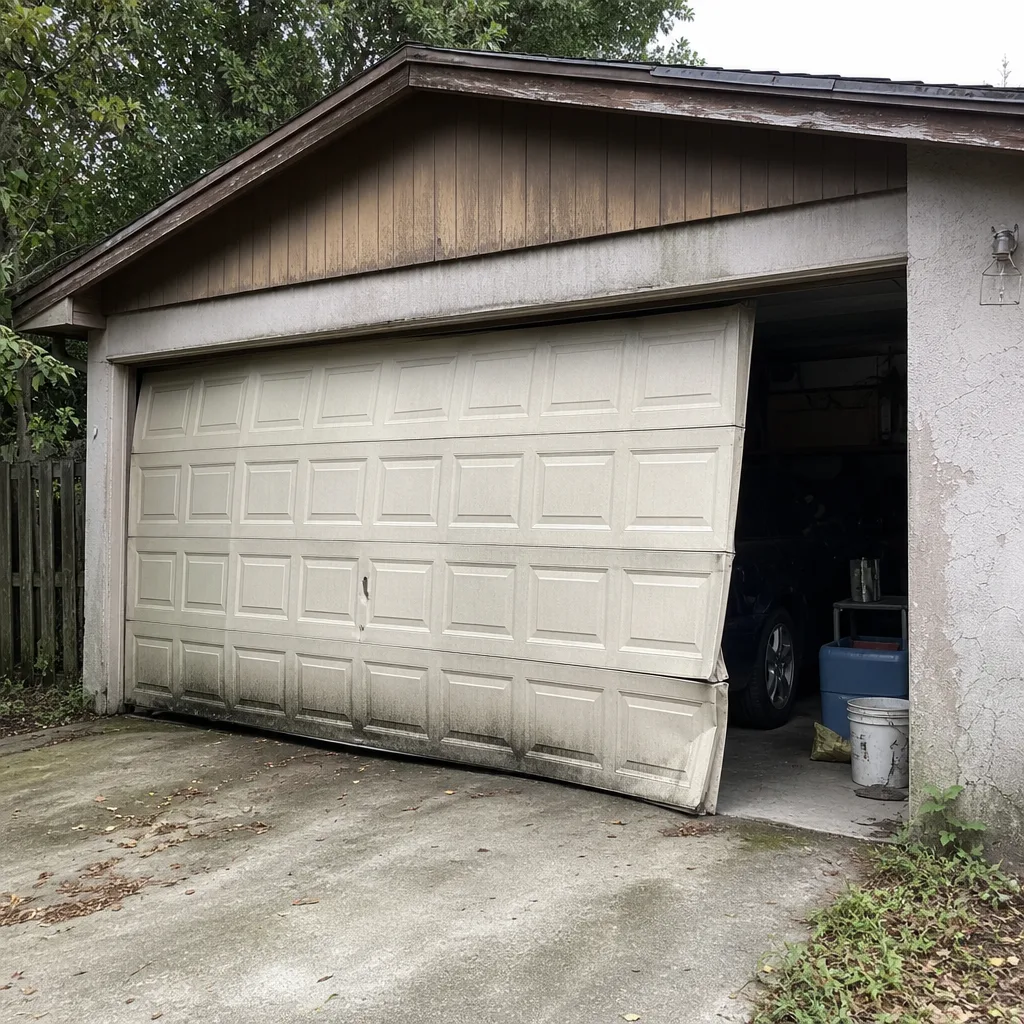 Before
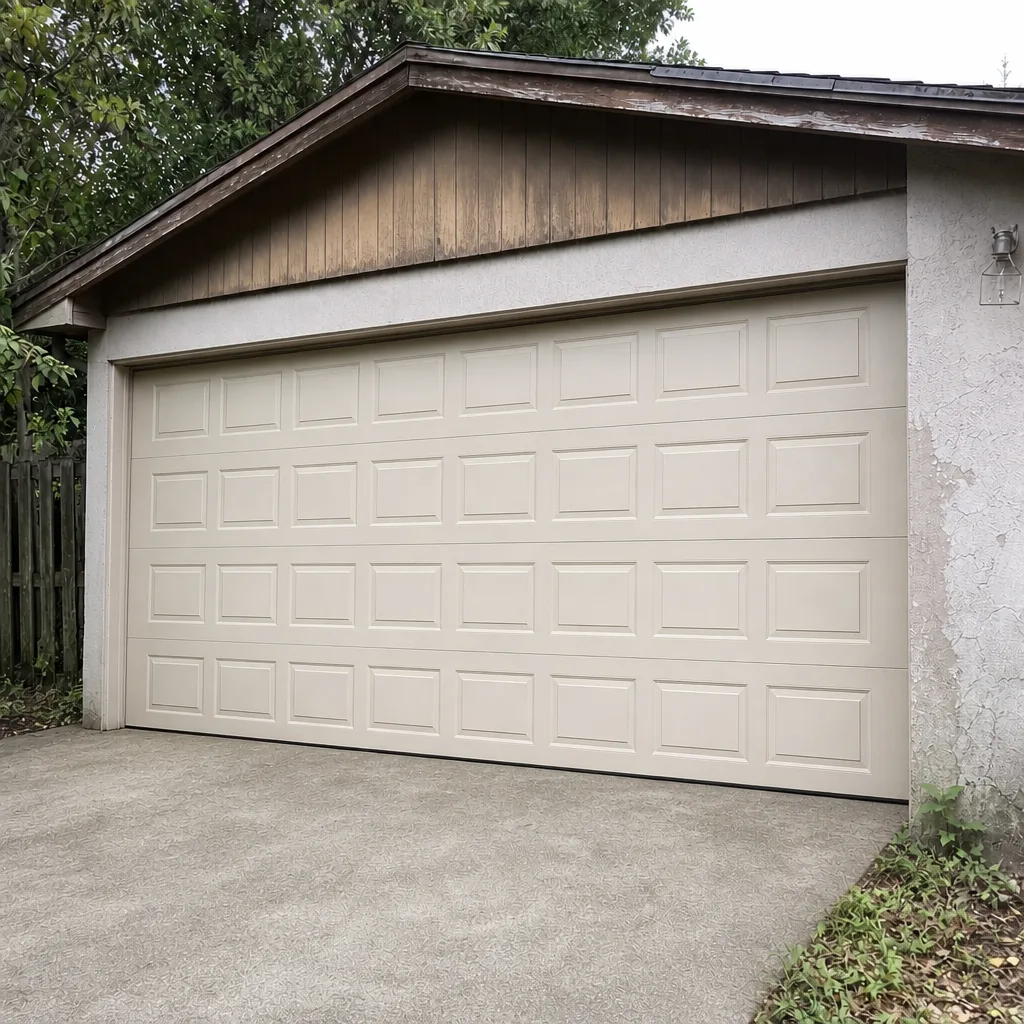 After
When to Call a Professional
Most of the checklist above is designed to be done by you. A handful of items are not. Call a professional for any work involving the torsion spring or the cables that run alongside it, any repair to the door’s structural hardware, any adjustment to a wind-load rated assembly, and any door that has come off its track. Call sooner rather than later if the door won’t close all the way, if the safety reverse fails on two tests, or if the opener runs but the door doesn’t move.
If the door creates an immediate safety or security risk – off the track, hanging open, unable to close – that’s an emergency, and we respond to those. Gainesville Garage Door Repair Co offers free estimates in Gainesville. Call (844) 654-1981. We answer 24/7. Fast dispatch from 7am to 7pm, Sunday through Friday, and closed Saturday.
Frequently Asked Questions
Do a visual walk-around once a month and a deeper inspection once a year, ideally in late winter before humidity climbs. Add a pre-storm-season check in spring that covers the manual release, bracing and safety reverse. The monthly check takes ten minutes and catches most of what goes wrong before it turns into a repair.
Humidity condenses on the coldest metal surfaces, and inside a garage those are the unpainted roller stems and hinge pins. Over months, that moisture works its way into the small gaps where the roller meets the bracket, and rust starts from the inside. A yearly silicone application on the stems and pins slows it down, and a monthly visual check catches it early. Call (844) 654-1981 for an exact quote on replacing worn brackets – estimates are free.
No. WD-40 is a solvent that displaces water but evaporates quickly and leaves almost no film behind. For a Gainesville door, use silicone spray on the roller stems, hinge pins and spring coils. Silicone leaves a dry, moisture-resistant film and doesn’t attract dust or wash out in rain.
Test the manual release, inspect the wind-load bracing for bent or loose struts, check the anchor bolts in the jamb, and lubricate with silicone before the rainy stretch begins. Also test the safety reverse and confirm the photo-eye LEDs are both lit steadily. If you’re not sure whether the door is impact rated, have it inspected. Scheduling ahead of the season is the right time.
A failing bottom seal or side weatherstripping lets hot outside air in and cool air out. Florida garages see the difference first because the air gap is small and the temperature differential is large. Test the seal with a dollar bill along the edges, look for daylight from inside, and replace any rubber that’s cracked, flattened or gummy. Call (844) 654-1981 for an exact quote – estimates are free.
The local professional we connect you with is licensed and insured as their state requires. Our technicians have up to 13 years of experience, and we work on all eight of the most common residential brands – LiftMaster, Chamberlain, Genie, Clopay, Amarr, Wayne Dalton, Craftsman and Raynor – so there’s no referral runaround. Call (844) 654-1981 to book a free estimate.
Yes. If a stuck or broken door creates an immediate safety or security risk, we respond to those situations as a genuine offering rather than a marketing phrase. We answer 24/7. Fast dispatch from 7am to 7pm, Sunday through Friday, and closed Saturday. A call outside dispatch hours is booked into the next opening. Emergency response is not priced at a premium – the price is set per job by the written estimate and agreed before any work begins.
The Bottom Line
The most expensive garage door problems in Gainesville almost always start as ten-dollar parts. Corroded brackets, cracked seals, mineral buildup on tracks. A monthly ten-minute look and a yearly deeper inspection catch almost all of it while it’s still cheap to fix. Priorities, in order: rust staging at the roller stems and hinge pins, the bottom seal and its contact with the floor, the manual release and safety reverse, the torsion spring from a distance, and the opener’s sensor alignment and battery backup. Anything involving the spring system, the cables or the structural hardware is a professional call. Everything else is yours to keep an eye on.
If any part of this checklist has flagged something and you’d like a specialist to look at it, call Gainesville Garage Door Repair Co at (844) 654-1981 for a free estimate. We answer 24/7. Fast dispatch from 7am to 7pm, Sunday through Friday, and closed Saturday.
Written by the team at Gainesville Garage Door Repair Co.